


Who doesn’t love a chocolate covered cookie? Add some ears, spooky little eyes, a candy nose, and a mouth full of sharp teeth, and you’ve got yourself an adorable little werewolf. Halloween is one of my favorite times of year to get a little creative in the kitchen. I love taking something simple and turning it into something fun, these Werewolf Chocolate Covered Oreos are exactly that!
These would be so cute for a Halloween party, a spooky movie night, a classroom treat, or just something fun with the kids. And because they come together pretty quickly, they’re also a great last minute Halloween treat when you want to make something festive without spending all day in the kitchen. Shameless plug These go perfect with the Peanut butter Werewolf Cookies in my recipe book A Wicked Cookie Collection

These Werewolf Chocolate Covered Oreos combine some ears, spooky little eyes, a candy nose, and a mouth full of sharp teeth, and you’ve got yourself an adorable little werewolf.
While your check out more of my Festive Recipes:
- Werewolf Paw Chocolate Pretzels
- Poison Apple Chocolate Covered Marshmallows
- Pumpkin SPice Cookie Fries
What Makes These Werewolf Oreos So Fun?
Sometimes, the cutest treats start with a package of store bought cookies and a little creativity.
These Werewolf Chocolate CoveredOreos are:
Quick to make You can have six adorable werewolf cookies ready in about 50 minutes, That includes drying time.
No-bake So no is oven needed.
Easy to decorate you use simple already made items and chocolate to create details on the werewolf’s face.
Halloween ready They’re perfect for parties, classroom celebrations, or spooky movie nights.
Kid-friendly Little helpers can decorate the faces once the chocolate has set.
What You Need to Make Werewolf Chocolate Covered Sandwich Cookies
The ingredient list is short, which makes this recipe especially convenient.
You’ll need six chocolate sandwich cookies/Oreos for the werewolf heads. You’ll also need a couple of extra sandwich cookies to create the werewolf ears.
Brown chocolate melts create the chocolate coating, while a small amount of white melting chocolate is used for the werewolf’s teeth. Eye sprinkles and mini candy coated chocolates bring the faces to life.
An edible marker is used to draw the werewolf’s smile, and a toothpick helps create those fun, pointy teeth.
For equipment, you’ll need a microwave safe bowl, piping bags, parchment paper, a fork, and toothpicks.
Yield: 6 Chocolate Covered Oreos
Equipment:
- Microwave Safe Cup
- Baking Sheet
- Spatula
- Piping Bag
- Fork
- Toothpicks
Timings:
- Prep/Cook time: 40 minutes
- Idle time: 10minutes
- Total time: 50 minutes
Ingredients:

How to Make Werewolf Chocolate Covered Sandwich Cookies
These cookies are made in two main stages: baking the cookies and preparing the chocolate ganache filling. The cookies are piped into fun shapes, chilled before baking, and then sandwiched together with a rich ganache.
Follow the instructions below carefully for the best results.
Instructions:


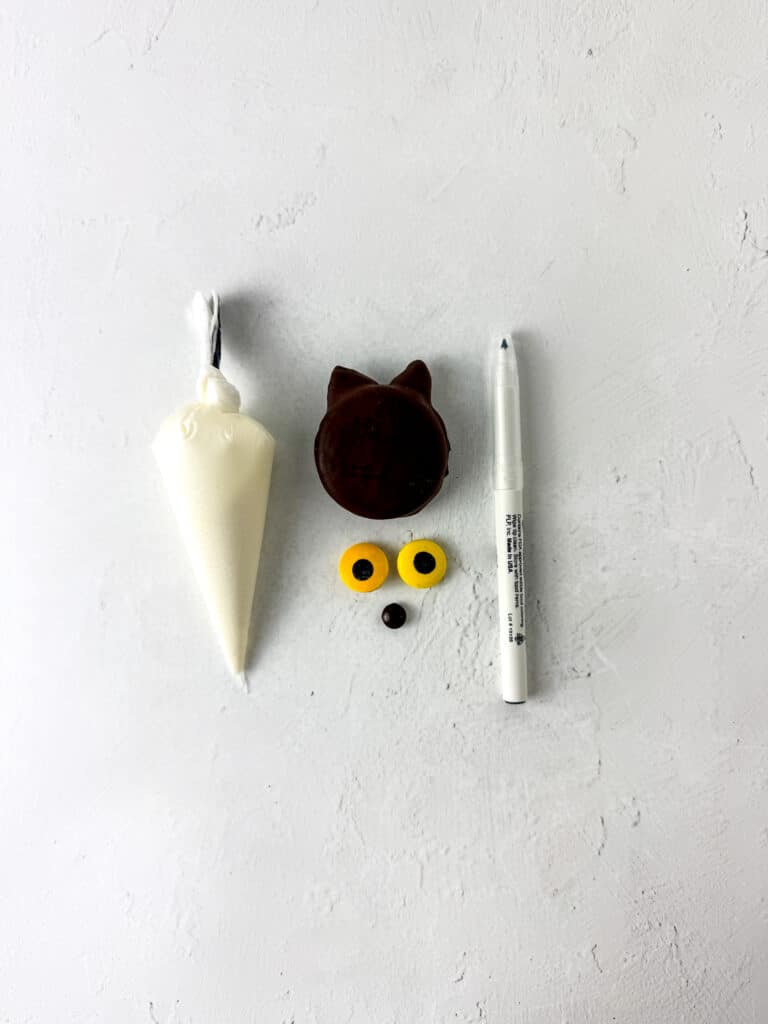
- Start by setting aside six chocolate sandwich cookies. These will become the heads of your werewolves.
- Next, take two additional sandwich cookies and separate them. Remove the cream filling and carefully cut the cookies into four triangles. These cookie triangles will become the werewolf’s ears.
- Melt the brown chocolate melts in a microwave-safe bowl. Microwave the chocolate in 30 second intervals. Stirr between each interval until the chocolate is completely melted and smooth.
- Dip the wide end of each cookie triangle into the melted chocolate. Place two ear pieces between each of the six sandwich cookies. Allow the chocolate to sit for about a minute so the ears can set.
- Once the ears are attached to the cookie, completely dip each cookie into the melted chocolate.
- Use a fork to lift the cookie out of the chocolate. Gently scrape the bottom the fork against the bowl to remove any excess chocolate.
- Place each chocolate covered Oreo onto a parchment lined surface. Allow the cookies to dry for about eight minutes. Don’t worry if your chocolate coating isn’t perfectly smooth. These are werewolves, after all! A little texture will actually help make the finished cookies look furry and rustic.
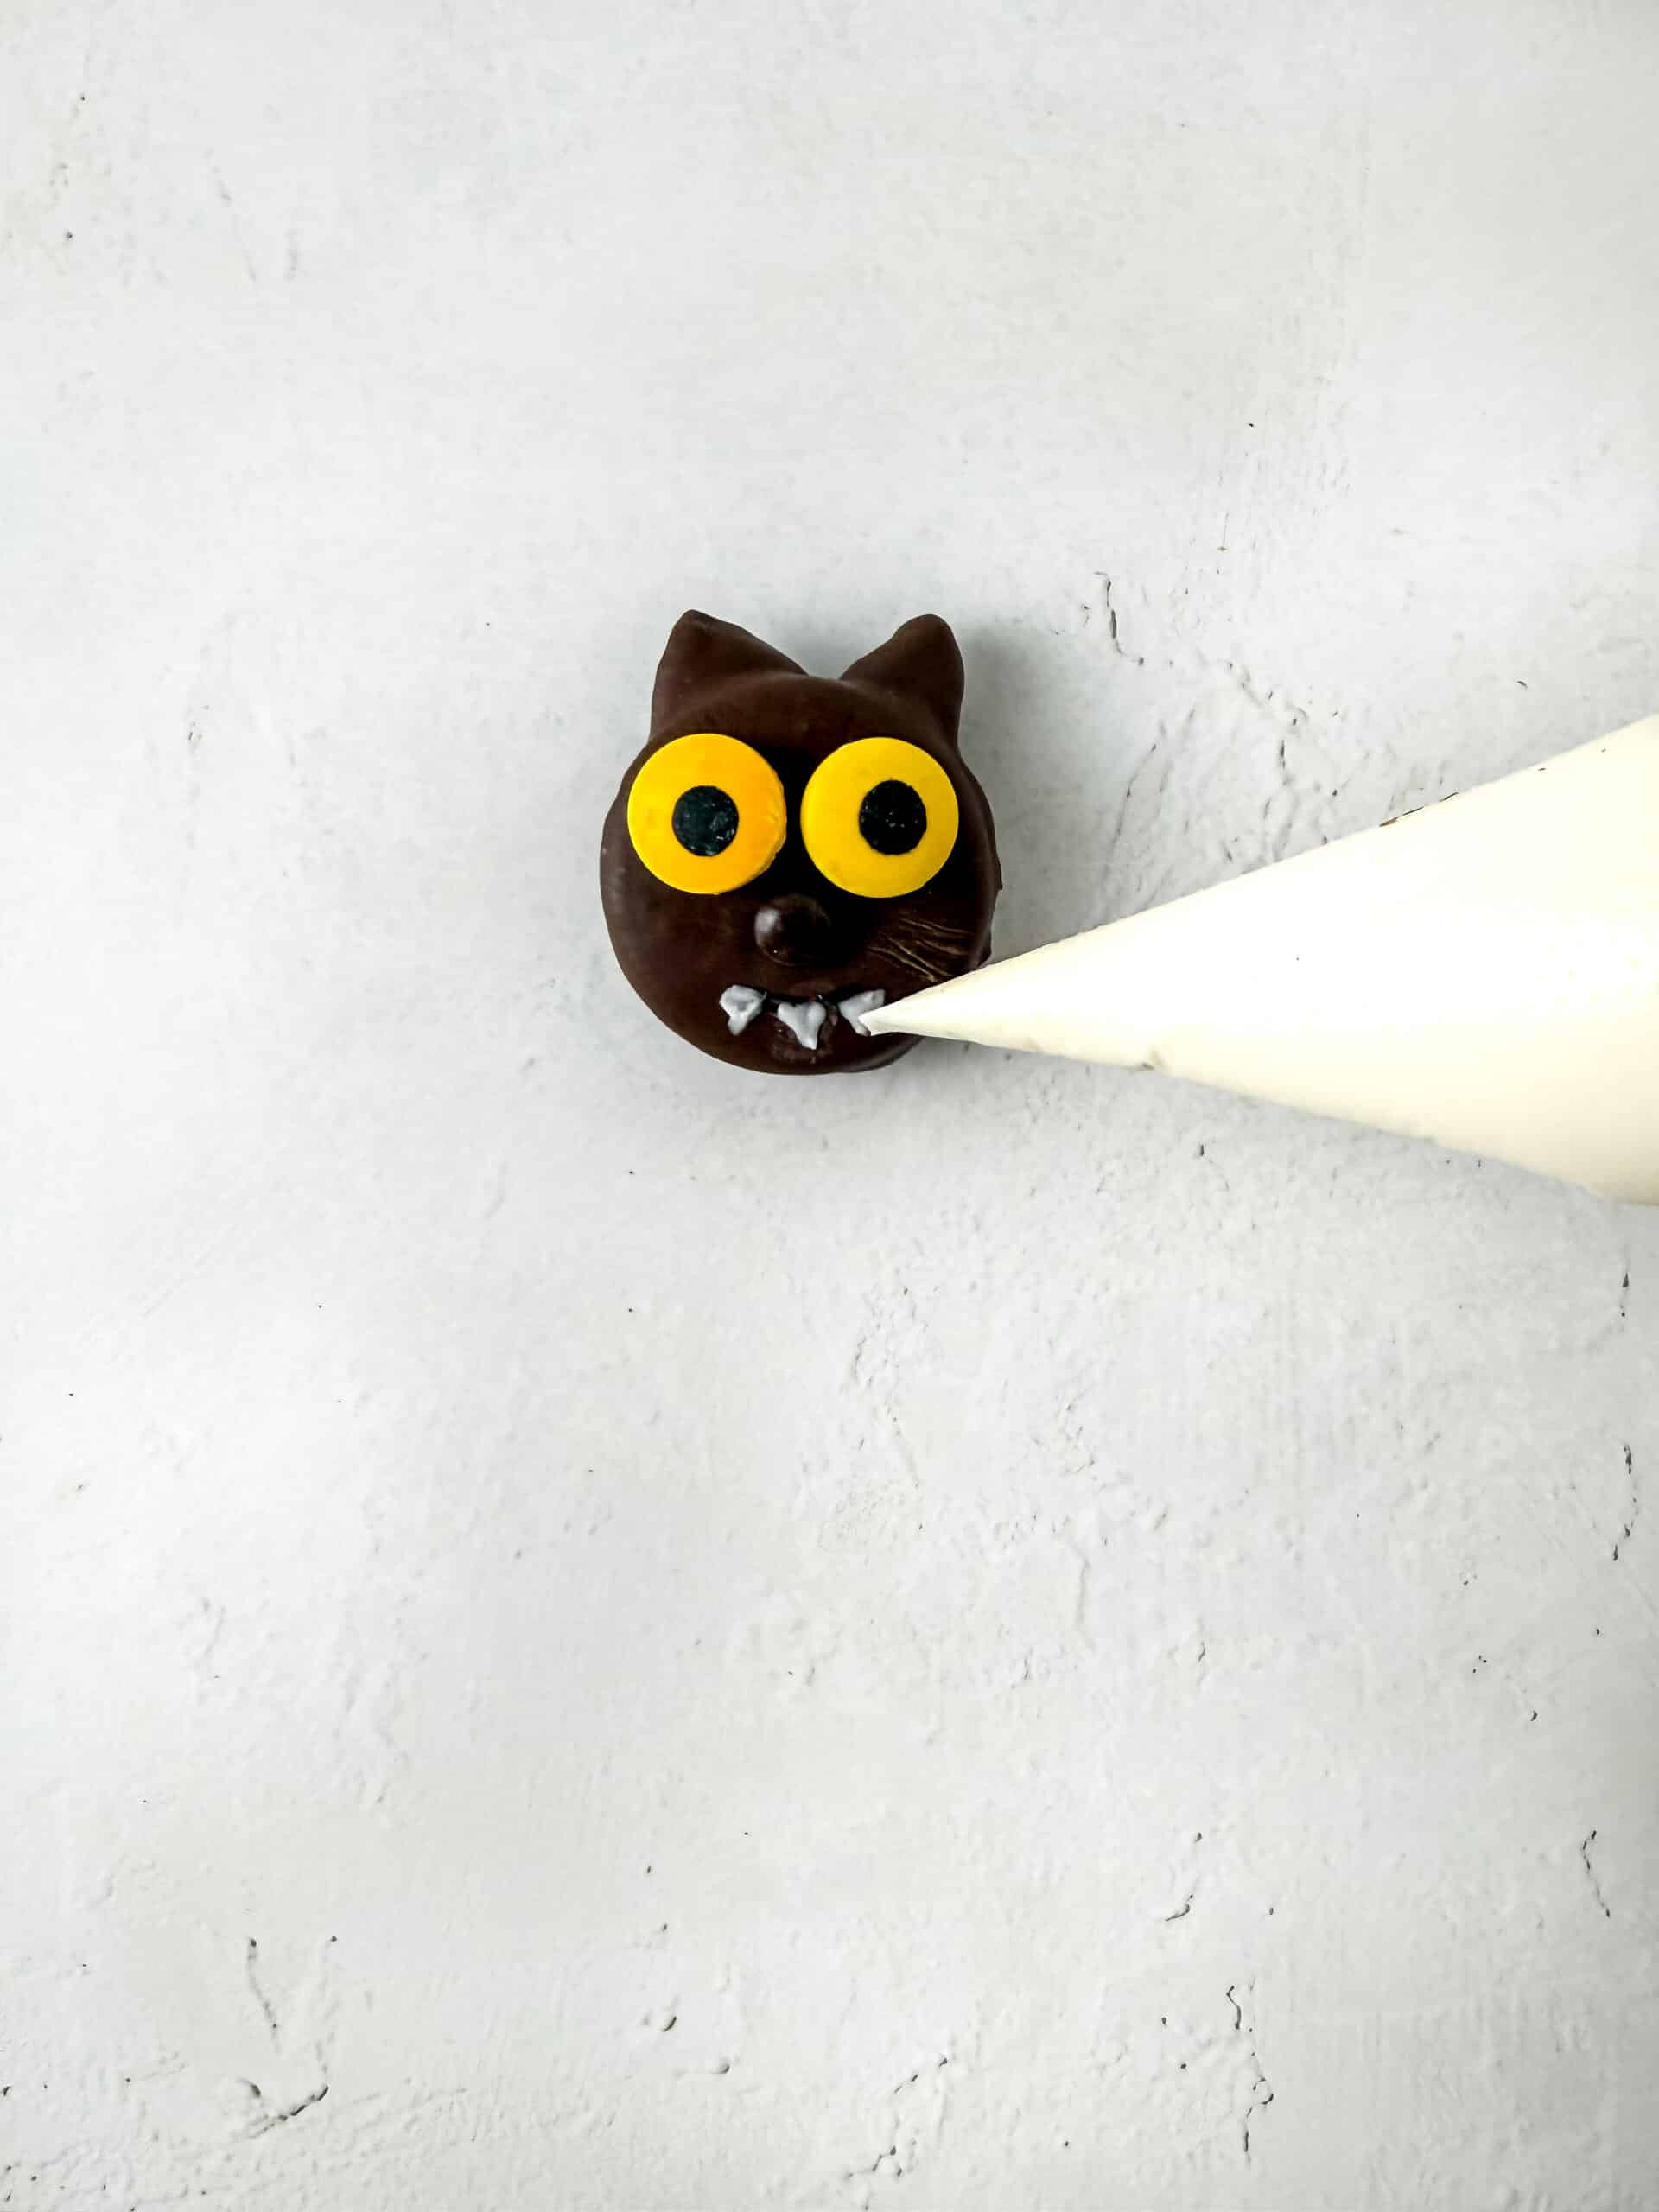
- While the cookies are drying, melt the white chocolate melts according to the previous instructions. Put the melted white chocolate into a piping bag and snip a very small opening at the tip.
- Now it’s time to give your werewolves some personality.Using either the white or brown chocolate, pipe two small dots onto each cookie for the eyes.
- Add another small dot of chocolate underneath the eyes and place a mini candy coated chocolate on top to create the werewolf’s nose.
- Using an edible marker, draw a half circle underneath the nose to create the werewolf’s smile. Using the melted white chocolate, pipe three to five small dots along the werewolf’s smile line.
- While the chocolate is still wet, use a toothpick to drag each dot downward. This will turn the chocolate dots into little pointed fangs.
- Let the teeth sit for about a minute to dry.
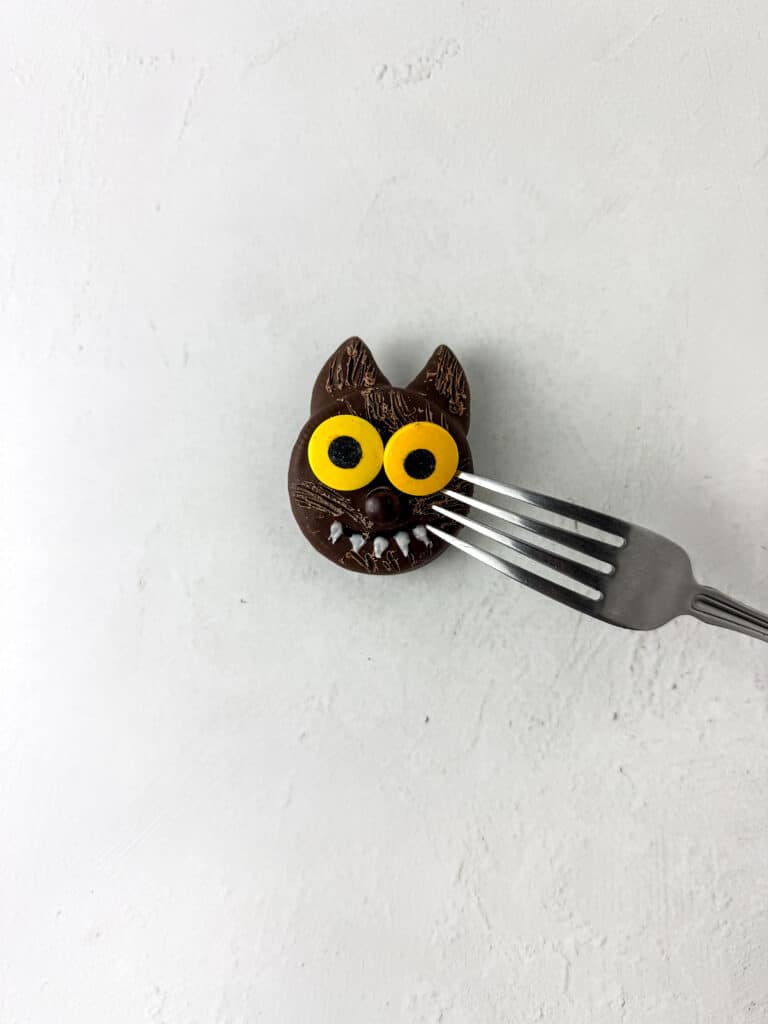
- The final step is what really brings these little werewolves to life. Take a fork and gently scrape around the surface of the chocolate covered Oreo to create a furry texture. Be careful not to scrape too deeply.
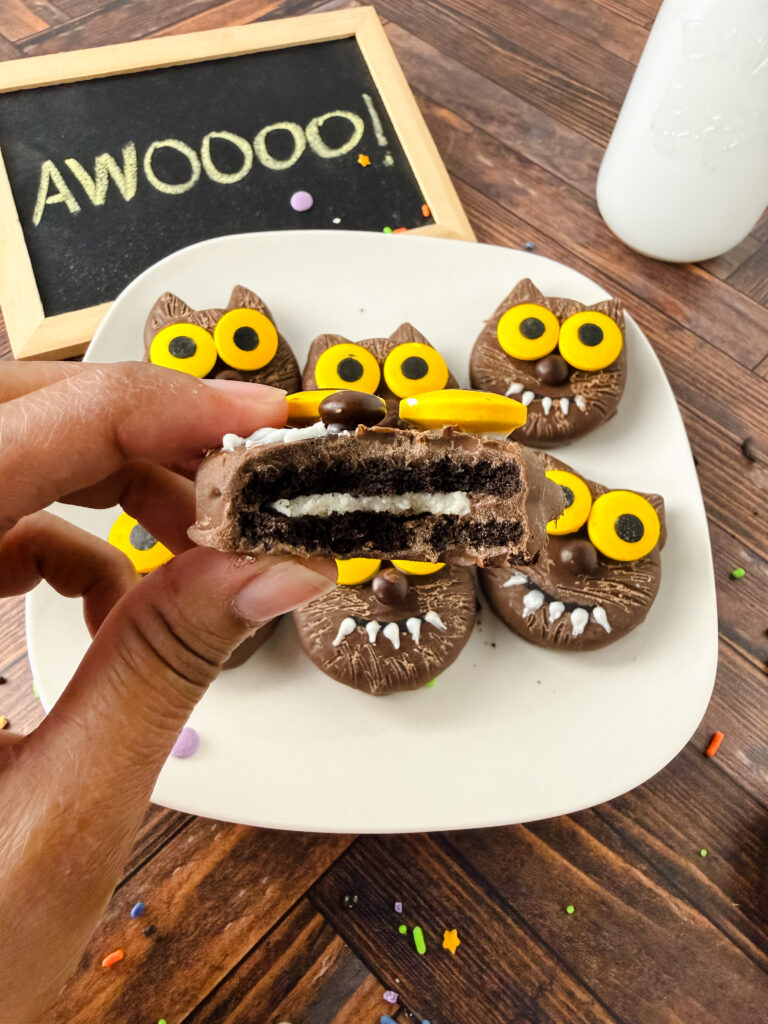
- Once you’ve finished adding the fur, your werewolf cookies are ready to serve!

TMI TIPs for Baking:
You don’t have to make every werewolf exactly the same. Some can have three teeth, while others can have five. Make some werewolves happy, some grumpy, and some extra spooky. You could even give each one a different. Giving each cookie its own expression makes them even more fun
Work quickly with the melted chocolate. Chocolate melts can begin to thicken as they cool. If your chocolate becomes too thick for dipping, warm it again in15 second intervals.
Don’t worry about perfection. These cookies should look like cute, spooky werewolves. The fur doesn’t need to be perfectly even, and each face can have its own personality.
Let the chocolate set before decorating. If the coating is still very wet, your facial details may slide around. Give the cookies enough time to dry before adding the decorations.

Storage
These cookies are best enjoyed fresh, but they can easily be stored if you want to make them ahead of time. Place the finished cookies in an airtight container and keep them in a cool, dry place. They should stay fresh for up to 4 days. These werewolf cookies can be placed in the refrigerator for up to a week but I keep in mind the condensation can cause the sprinkles and candy to bleed into the chocolate.
Enjoy!
I love that you can start with a simple sandwich cookie and turn it into something totally different with a little melted chocolate and a few decorations. There’s just something about making Halloween treats that are a little creepy and a whole lot of cute. These werewolf cookies are one of those treats that look like you spent way more time making them than you actually did!!
Once you make them, they may just become a new holiday baking tradition in your home.

Werewolf Chocolate Covered Oreos
Equipment
- Piping Bags
- microwave-safe bowls
- Parchment Paper
- Fork
- Toothpicks
Ingredients
- 8 Oreos
- 4 Ounces Brown Chocolate Melts
- 1 Ounce White Chocolate Melts
- Candy Eye Sprinkles
- Mini Candy Coated Chocolates
- Edible Marker
Instructions
- Set aside 6 chocolate sandwich cookies to be the werewolves’ head. Then set aside and separate 2 more sandwich cookies.
- Remove the cream from each of the extra cookies and slice them into 4 triangles.
- Melt the chocolate melts in a microwave safe bowl in the microwave in 30 second intervals until melted and liquid. Stir in between each interval.
- Dip the wide end of the triangles in the melted chocolate and place them in between each of the 6 chocolate sandwich cookies. Let the cookies sit for a minute to dry.
- Completely dip the cookies in the bowl of melted chocolate. Use a fork to take them out and scrap off the excess chocolate. Place the cookie on a sheet of parchment paper. Let them sit for 8 minutes to dry.
- While the cookies are drying, melt the white chocolate melts following the melting instructions above. Place the white chocolate in a piping bag and cut a small hole on the tip of the bag.
- Use either the white or brown chocolate, place 2 dots on the cookie for the werewolf’s eye sprinkles. Place dot of chocolate right below the eyes and place a candy coated chocolate on it to be the nose.
- Take the edible marker, draw a half circle to create a smile.
- Using the white chocolate, pipe 3-5 dots of the chocolate on the smile line of the werewolf. Use a toothpick to drag the white chocolate dots down to make pointy teeth. Give the teeth about 1 minute to dry.
- -Grab a fork and scrap around the werewolf’s face to give the appearance of fur. -Serve and Enjoy!
Notes
Share
Enjoying the yummy recipes on my blog? Don’t forget to share, comment, and subscribe for more delicious content! If you recreate any of these tasty dishes, be sure to tag me @torriemadeit on all platforms, I wanna see your kitchen magic!
This post contains affiliate links. If you purchase from some of these links I will receive a small commission but it will Not add any additional cost to you.