Decorating cookies have become one of my favorite ways to express my creativity. There are so many different techniques and mediums to use in multiple ways and I get so excited when I come up with something different to do with a new product. Recently, I did a Live on Instagram about ways that I used Cello Sheets to decorate a cookie that has never been done before making edible sequin.
Cello Sheets are these flat edible flexible sheets that comes in either clear or white. I used the clear sheets to create edible sequin and I created beautiful patterns on the sheets without having an edible printer. Guess what? Each takes less than ten minutes!!
Making the Edible Sequins
Materials
-Cello Sheets
-Edible Pearl Dust
-Everclear or Lemon Extract
-Paint Brush
-Edible Glaze spray (optional)
-Pen blade
-Hole puncher
-Edible Adhesive to attach them to your cookie.
To start:
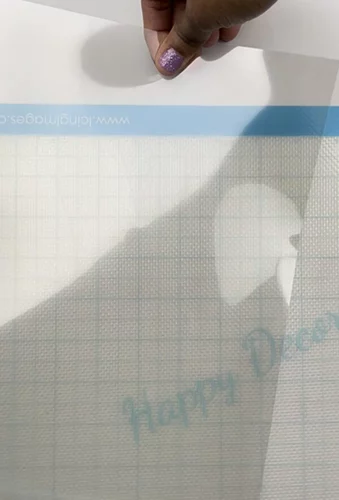
1. Take your clear cello sheet and with a teeny tiny bit of water, tap the corner. This is to feel for the sticky side. That’s the side you should be working on.
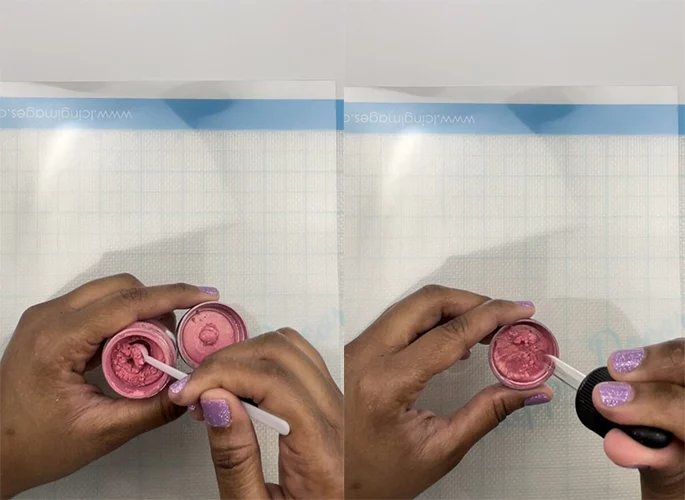
2. Now that we have the proper side, mix the pearl dust with Alcohol/extract.
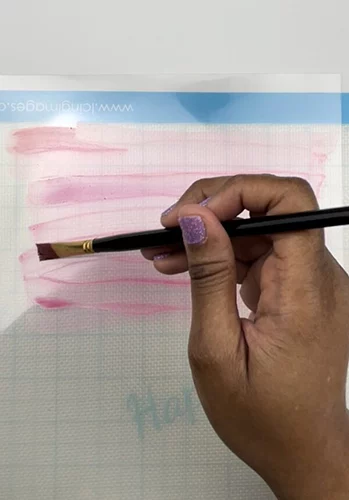
3. Then we are going to paint it on the cello sheet. You can paint on several layers depending on how deep you want the color.
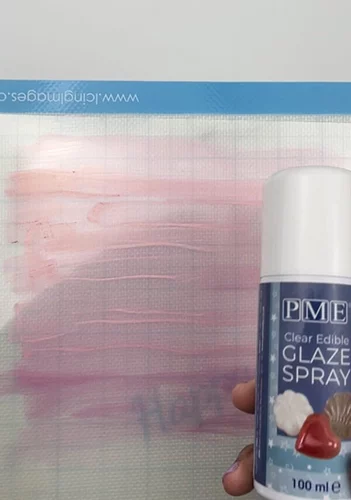
4. Give the sheet a few seconds to dry, then spray it with your edible glaze spray.
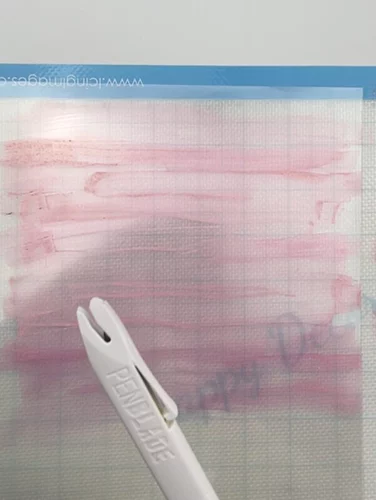
5. Let the sheet sit for about 2 minutes to dry. Once it’s dry, use the pen blade to slice a tiny piece in the corner.

6. Fold that corner (optional), then turn the sheet over and proceed to peel the back of the sheet.
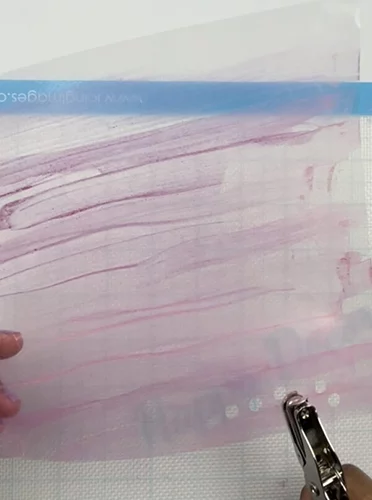
7. Once peeled, get that trusty hole puncher and punch holes all over that sheet.
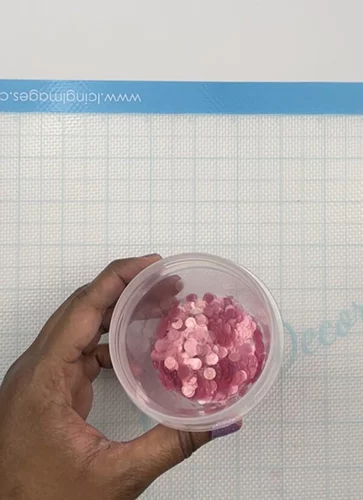
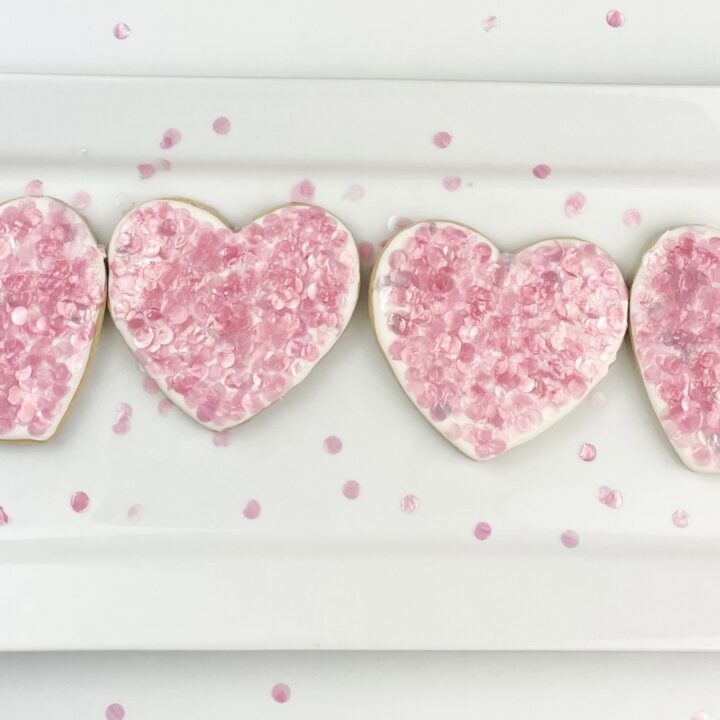
Voila! You have edible Sequin in less than 10mins!!
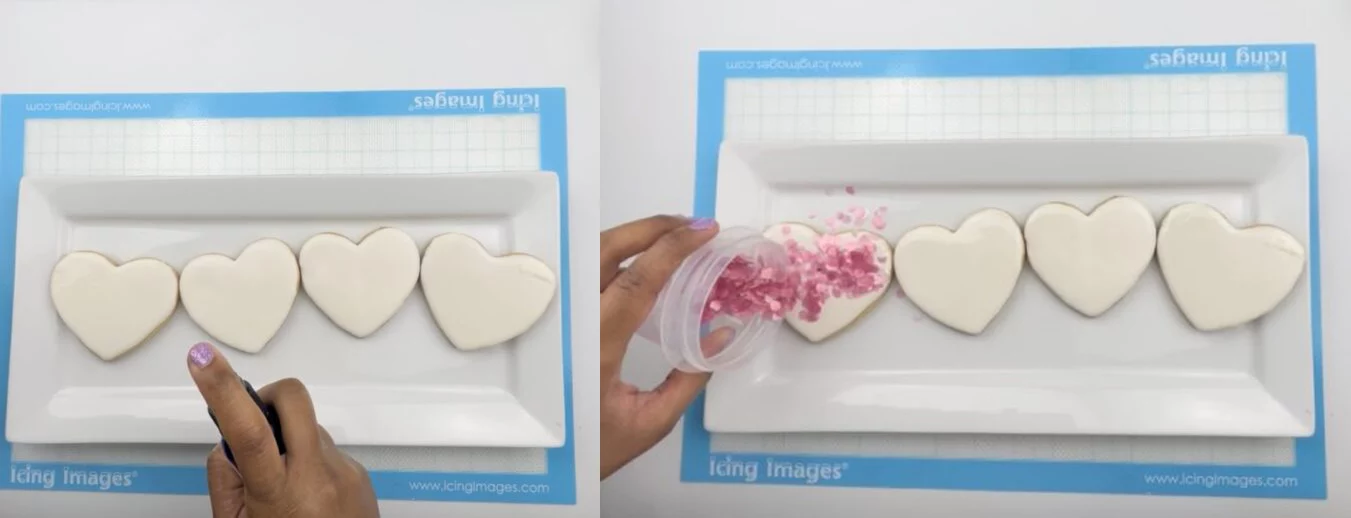
Now to attach the sequins to my cookies I use edible glue. You can also use paper potion or water but it has to be a teeny tiny bit.
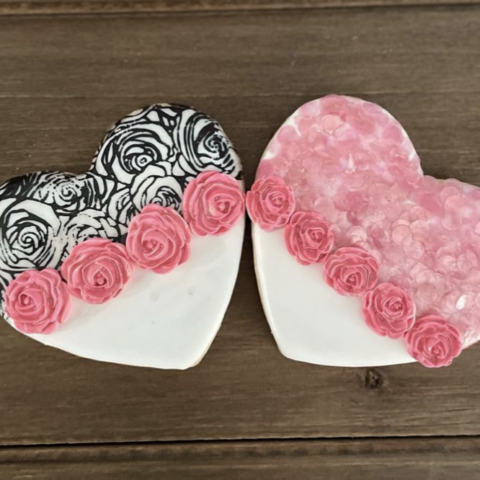
& please keep those scraps because you can use those for lace.
How To Make Edible Sequin In Less Than 10 Minutes
Decorating cookies have become one of my favorite ways to express my creativity. There are so many different techniques and mediums to use in multiple ways and I get so excited when I come up with something different to do with a new product. Recently, I did a Live on Instagram about ways that I used Cello Sheets to decorate a cookie that has never been done before making edible sequin.
Materials
- Cello Sheets
- Edible Pearl Dust
- Everclear or Lemon Extract
- Paint Brush
- Edible Glaze spray (optional)
- Pen blade
- Hole puncher
- Edible Adhesive to attach them to your cookie
Instructions
To start:
- Take your clear cello sheet and with a teeny tiny bit of water, tap the corner. This is to feel for the sticky side. That’s the side you should be working on.
- Now that we have the proper side, mix the pearl dust with Alcohol/extract.
- Then we are going to paint it on the cello sheet. You can paint on several layers depending on how deep you want the color.
- Give the sheet a few seconds to dry, then spray it with your edible glaze spray.
- Let the sheet sit for about 2 minutes to dry. Once it’s dry, use the pen blade to slice a tiny piece in the corner.
- Fold that corner (optional), then turn the sheet over and proceed to peel the back of the sheet.
- Once peeled, get that trusty hole puncher and punch holes all over that sheet.
Voila! You have edible Sequin in less than 10mins!!
& please keep those scraps because you can use those for lace.
Now to attach the sequins to my cookies I use edible glue. You can also use paper potion or water but it has to be a teeny tiny bit.
*BONUS*
Adding prints to your Cello sheets when you don’t have a printer
Materials needed:
-Cello sheets
-Alcohol/Extract/Water
-Paint Brush
-Stamps
-Edible Glaze spray
I came up with this technique because I don’t have an edible printer… YET!
I wanted to create some cute patterns on my sheets like I seen on others, so I stamped them with food color.
To create these:
-Just like the 1st step above, tap corners of the sheet with a super amount of water to feel the sticky side. Thats the side we will be stamping on.
-Now that you have the right side, take your edible food color gel and mix it with alcohol/extract or water.
-Brush the color mix on the stamp but not too much because it will smear. Now place your stamp on top of the cello sheet and press down.
-Repeat this process adding more color to the stamp as needed to cover an entire sheet.
-Let the sheet sit for 3-4 minutes to dry then spray it with edible glaze spray.
-If you want to layer colors, now would be the time to paint another color over the stamped pattern.
-Let it dry for another 2-3 minutes (you can spray it with the edible glaze spray again if you please).
-Use the pen blade to slice a piece of the corner. Fold that corner and then turn the sheet over and peel off the backing.
-Now you can cut out your stamped patterned piece to your desired shape then attach it to your cookie or other bakes using edible glue or a tiny bit of water.
And Tah-dah, your done!
If you need to see these steps in action make sure to check the reels I posted on my IG page
or the demo I did on Icing Images IG page.
How To Make Edible Sequin In Less Than 10 Minutes -- BONUS
*BONUS*
Adding prints to your Cello sheets when you don’t have a printer.
I came up with this technique because I don’t have an edible printer… YET!
I wanted to create some cute patterns on my sheets like I seen on others, so I stamped them with food color.
Materials
- Cello sheets
- Alcohol/Extract/Water
- Paint Brush
- Stamps
- Edible Glaze spray
Instructions
To create these:
- Just like the 1st step above, tap corners of the sheet with a super amount of water to feel the sticky side. Thats the side we will be stamping on.
- Now that you have the right side, take your edible food color gel and mix it with alcohol/extract or water.
- Brush the color mix on the stamp but not too much because it will smear. Now place your stamp on top of the cello sheet and press down.
- Repeat this process adding more color to the stamp as needed to cover an entire sheet.
- Let the sheet sit for 3-4 minutes to dry then spray it with edible glaze spray.
- If you want to layer colors, now would be the time to paint another color over the stamped pattern.
- Let it dry for another 2-3 minutes (you can spray it with the edible glaze spray again if you please).
- Use the pen blade to slice a piece of the corner. Fold that corner and then turn the sheet over and peel off the backing.
- Now you can cut out your stamped patterned piece to your desired shape then attach it to your cookie or other bakes using edible glue or a tiny bit of water.